Pictometry takes Computer Assisted Mass Appraisal (CAMA) to the Skies
Pictometry is the name of a patented aerial image capture process that produces imagery showing the fronts and sides of buildings and locations on the ground. Low-flying airplanes capture images, which depict up to 12 oblique perspectives (shot from a 40-degree angle), as well as an orthogonal (overhead) view of every location flown. These perspectives can then be stitched together to create composite aerial maps that seamlessly span many miles of terrain. Because they are taken from an angle, the pixels associated with Pictometry images are trapezoidal, rather than rectangular. This necessitates special software and algorithms to accurately determine objects’ size and position on the maps.
Click the Pictometry button below the map on the Property Summary Page:
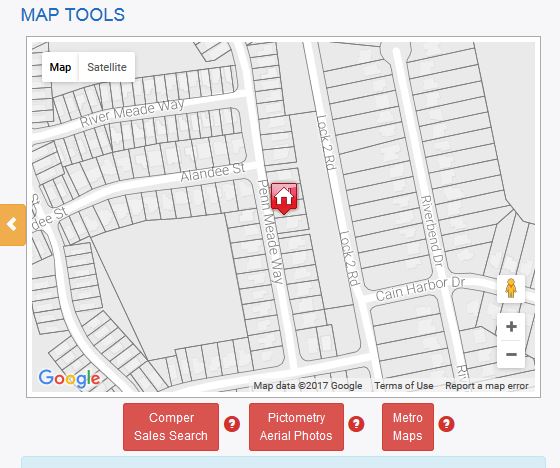
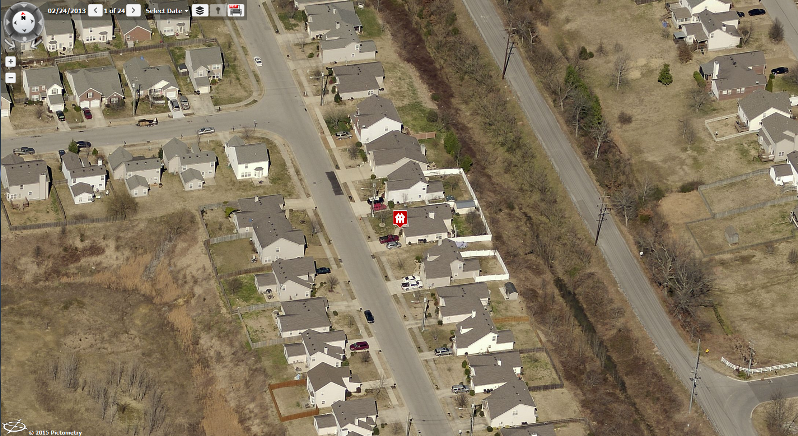
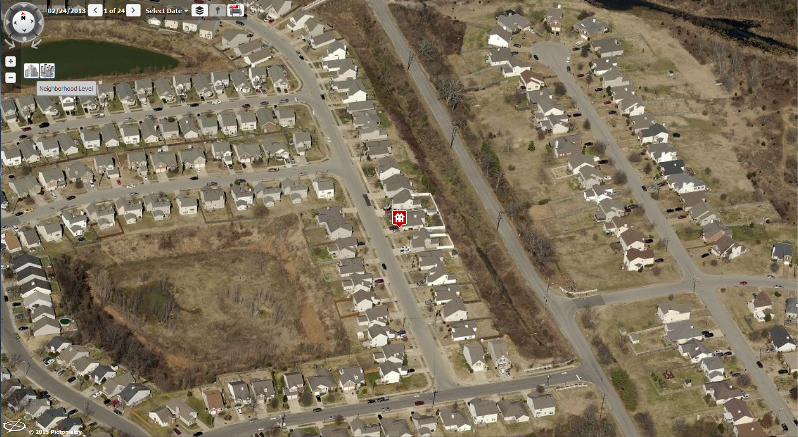
This will take you to the Pictometry site with the selected property centered on the page.
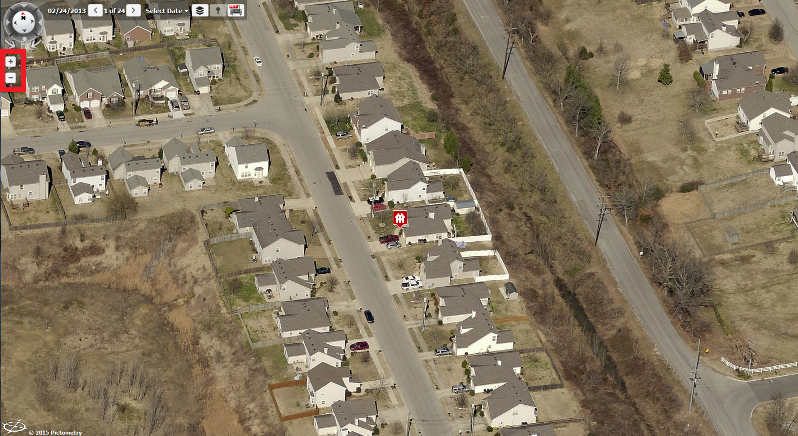
You can zoom in and out of the image by using the +/- buttons in the upper left of the page or by using your mouse wheel.
Hovering over the +/– symbols will give you options to change the height at which the photos were taken. The first button,
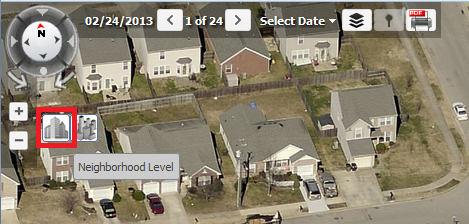
displays the “Neighborhood Level” view.
The second button,
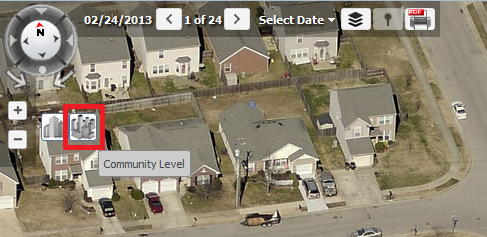
displays the “Community Level” view.

In the upper left corner of the page, you will notice a compass.
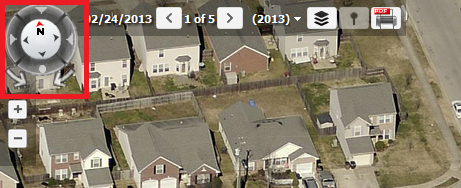
Notice the arrows surrounding the compass pointing inward.
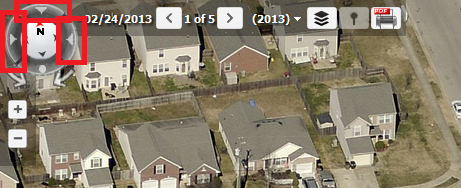
By clicking on one of these arrows, you can change the direction from which the photo was taken (i.e. North, South, East, or West.) As you change the photo, the compass will adjust so that you can always identify which way is north on the photo. (Note: this allows us to view all sides of a property without actually having to make a visit.)
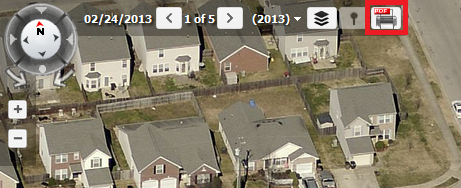
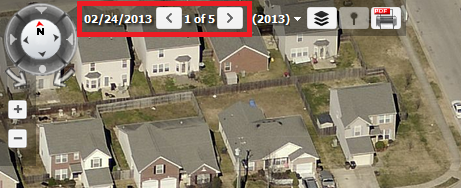
To the right of the compass is a date followed by < # of # >, which tells you the date the images were taken, how many were taken that day, and allows you to scroll through the images.
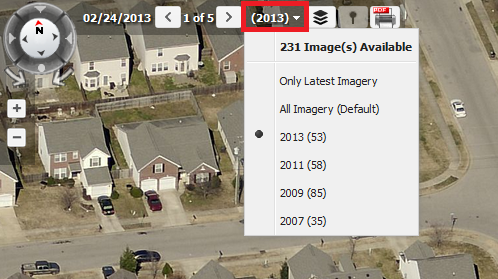
Next, you will notice a year drop-down field. Clicking this field will display a list of years that photos were taken and the number of photos taken each year. You may select between; the year for the images you wish to view, all imagery available, or only the latest imagery.
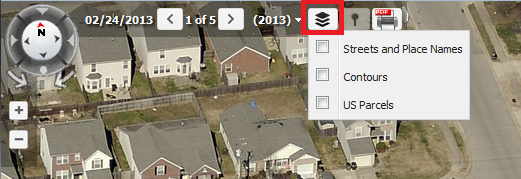
The next icon will allow you to add layers to the image. Such as streets and place names, contours, and US parcels.
The next button is not currently available.
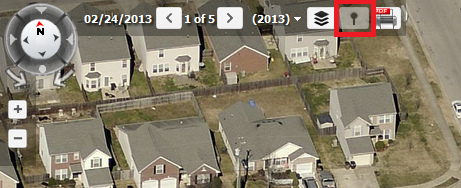
The final button allows you to save a PDF file of the photos currently displayed.